You have finally sorted through thousands of shades and
found your perfect paint color. You bought a few cans of paint. You cleared out your weekend. You are ready to jump in, but where do you start? Having the proper tools, correctly prepping your space, and taking your time using the right technique are all key to getting a perfectly painted room.
Tools and Supplies
The proper tools can make or break your affinity and patience for painting. A well-equipped project is likely to be a well-finished project. When it comes to paintbrushes and rollers, you get what you pay for. High-quality brushes, particularly angled ones, will make trim work a breeze and eliminate those pesky brush strokes. Small hand-held paint buckets with magnets to hold brushes in place work wonders for touch-ups and detail work, especially if you’re on a ladder.
Tape and paper for taping off trim, especially if you invest in a tool that combines the paper and tape for you, will make the project much easier. A plastic or canvas tarp will be your best friend for protecting floors; a ladder and stepstool are essential; plenty of paint sticks, a paint can opener, a hammer for resealing containers, long-reaching roller handles make quick work of ceilings; and mini rollers make doors and trim simple and smooth.
The number of each item you’ll need depends on how many people will be painting with you and the scope of your job. If you’re the only one doing the work, you’ll only need one hand-held paint bucket, angled brush, paint tray, paint tray screen and roller handle. Paint tray liners, rollers, tape and paper will depend on the amount of painting you’re doing, the number of days it will take you, and how many colors you’re using.
Of course good tools cost more, but the investment up front will pay off with a professional-looking job that will last years. What’s more, if you care for them properly, you’ll have the tools on hand for your next painting project in your new home.
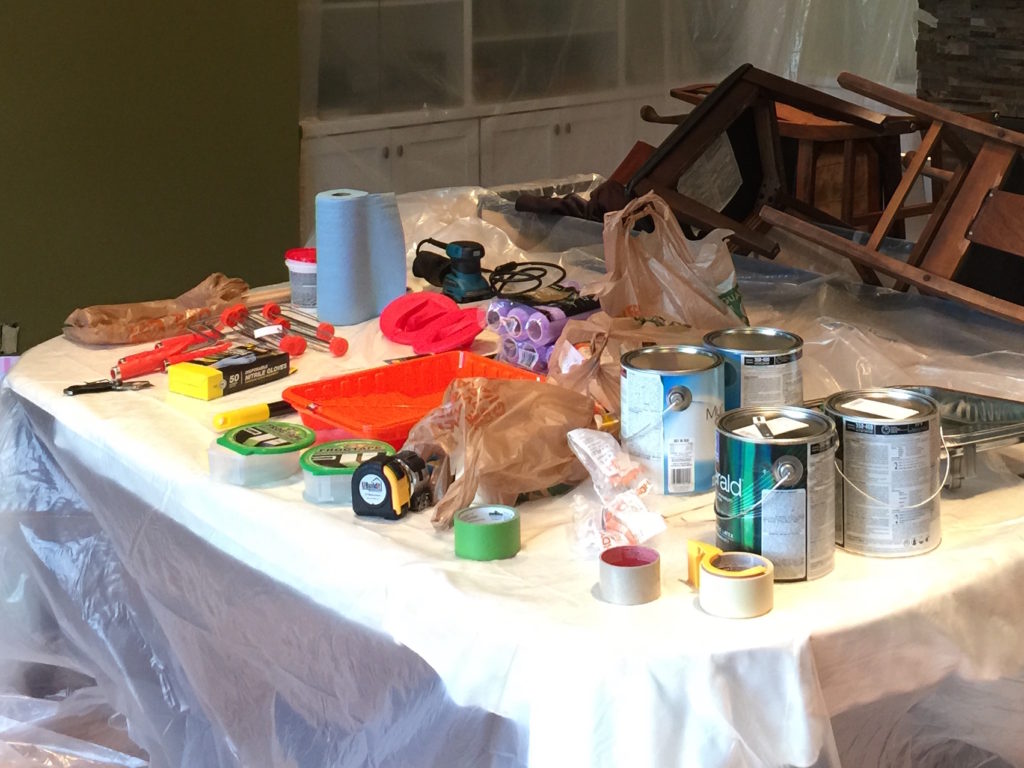 Tools you’ll need:
- Angled paintbrushes
- Hand-held paint buckets
- Paint trays
- Paint tray liners
- Paint roller screens
- Mini paint trays
- Mini paint tray liners
- Roller handles: short, long and mini
- Rollers: regular and mini
- Ladder/stepstool
- Rags
- Canvas/plastic tarps
- Paint sticks
- Paint can opener
- Hammer
- Large trash can with commercial trash bag liners
Supplies you’ll need:
- Paint scraper
- Rags
- TSP (trisodium phosphate)
- Spray bottle
- Spackle
- Putty knife
- Sanding block
- Face mask
- Painter’s tape
- Paper
- Tape/paper dispenser
- Drop cloth
Prepping to Paint
You’ll want to schedule at least double the amount of time you think you’ll need for the project, because painting always takes longer than you expect.
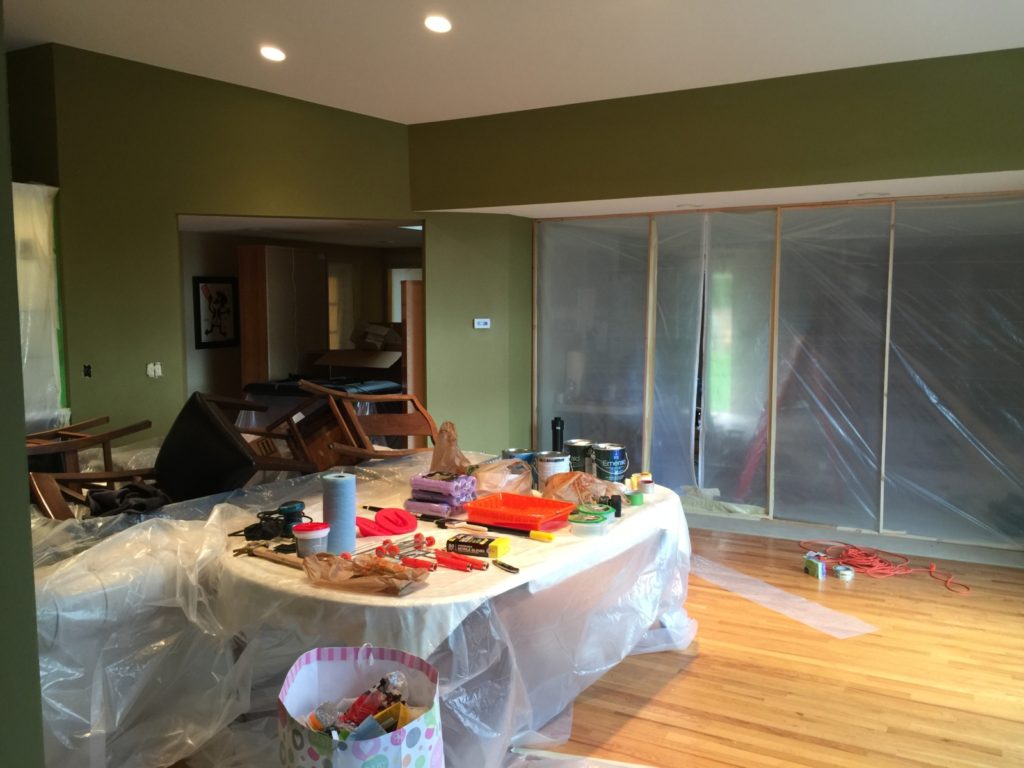
STEP 1: Prepare your space by removing any easily moved furniture, and covering large furniture that cannot be moved. Don’t forget to remove all light switches and outlet covers, too! Use a large drop cloth to cover and protect your floors.
STEP 2: Begin by cleaning the walls of spiderwebs and dirt with a soft rag. A $5 box of TSP (trisodium phosphate) that you mix in a spray bottle will take off any oils or residue that might affect the paint. Don’t forget to clean trim work and especially baseboards.
STEP 3: Tape over baseboards and moulding, if you are going to paint these you will do so after the walls. If you’re not, it’s good to keep them clean and paint free.
OPTIONAL: Scrape and sand away and peeling or chipping paint. If you simply paint over the area, you may end up with uneven texture.
Adding Primer
You may or may not need to start with a paint primer, depending on the paint you’ve chosen, the finish of the wall you’re painting and the amount of damage or color beneath. The general rule of thumb is if you are switching between oil-based paint or latex paint, or if the previous paint is in a state of terrible disrepair (think chipping and falling) then you should use primer.
Always read the directions on the paint can, and if you aren’t sure don’t be afraid to ask at your local hardware store when buying the paint.
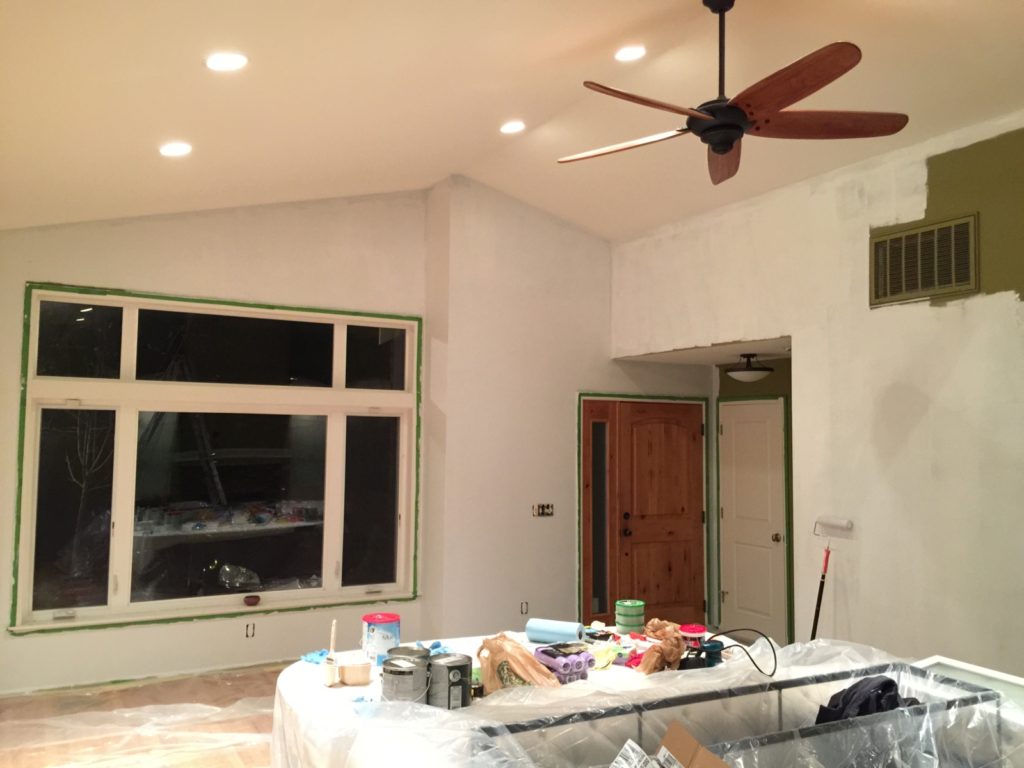
Cutting In
STEP 4: Start by “cutting in” or painting the edges and trim with a smaller flat brush. Hold the brush as you would a pencil, and make smooth light strokes. Feather and overlap your strokes to prevent runs and harsh lines.
TIP: Do this part with a smaller brush and paint bucket. These will be easier to use when going up and down a ladder.
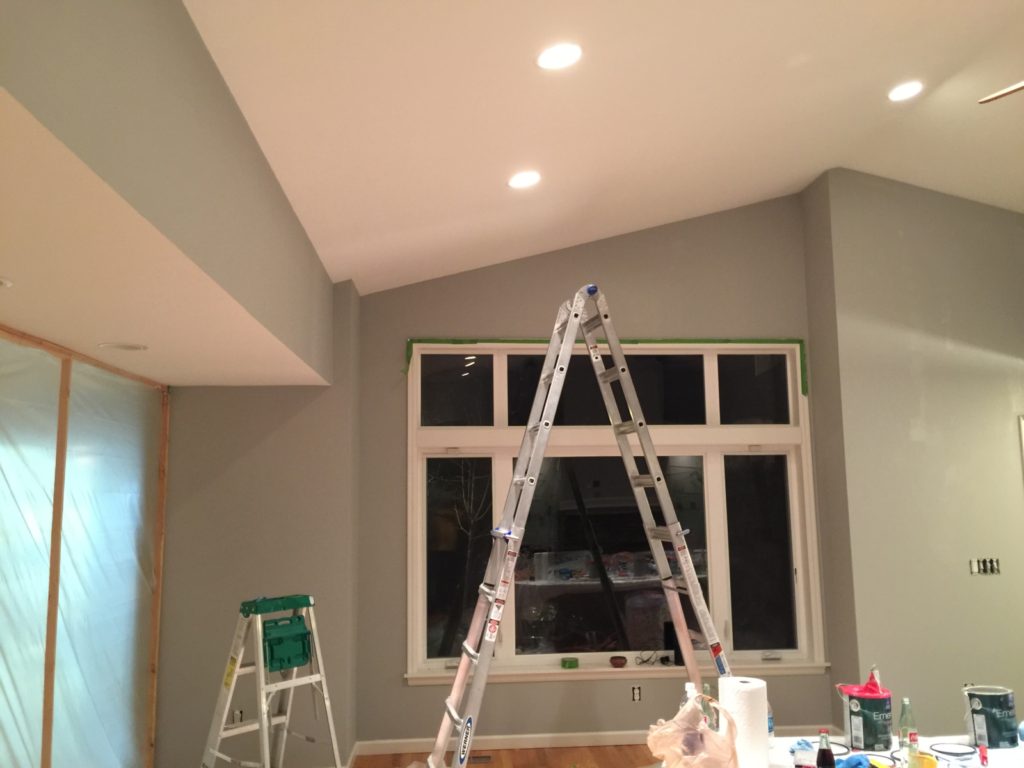
Painting the Walls
Once you have finished the trim, move on to rolling the rest of the wall.
STEP 5: Dampen your roller brush with a wet rag. This will help it hold on to paint.
STEP 6: Partially submerge your roller brush (but not all the way!) and then roll it out on a grid or liner to even the paint on the roller.
STEP 7: Starting a few inches away from your painted edges, use your roller to paint directly down, and then diagonally back up almost in a loose backwards “N” pattern. Be sure to overlap your lines, and try to remember not to press down too hard.
TIP: Go slow! This will help to make sure you have applied an even coat, and will also prevent spattering.
STEP 8: Once the majority of the wall is covered with paint, finish up by rotating your roller 90 degrees to get the space between the main wall that you just painted and the edges.
STEP 9: If you notice runs or buildup apply very light vertical strokes to even out the texture of the wall.
STEP 10: Give the first coat a good amount of time to dry, preferably even longer than the manufacturer suggests for a smooth finish. For a second coat follow steps 5 – 9.
STEP 11: Follow these steps for each wall that you are painting.
Painting Trim
STEP 12: Once the main paint job is done and completely dry (may take a few days) carefully remove the painter’s tape.
STEP 13: Tape off the newly painted walls and paint the trim using the angled brushes and mini rollers.
STEP 14: Remove the tape from the walls shortly after painting the trim. This will prevent peeling.
TIP: If you need to take a break wrap brushes and rollers in plastic wrap to keep them wet for a few days. When you’re ready, unwrap and go for it again!
 As you can see, the time investment is hefty for painting any room, and this is without any hiccups. Should you run out of paint or primer, realize you’ve got an oil-based paint underneath the latex paint you’re trying to apply, or the like, things will get more complicated. It’s always best to plan with plenty of extra time.
 Source: zillow.com